Kitchen Plinth LED Lighting

Let the kitchen float

A soft line at plinth level brings depth to cabinetry and a welcoming glow after dark, without making the fittings the focus.

Kitchen plinth LED lighting concept
Lighting concept

Plinth lighting works best as a controlled accent. Keep the source discreet and let the floor carry the light, with a finish that still looks tidy when the lights are off.

Kitchen inspiration

See the detail
as part of the room.

Use these kitchen concepts to explore how working light and softer accents can sit together. They illustrate design ideas rather than a specified product or installation.

Kitchen lighting concept showing layered LED illumination
Lighting conceptA layered kitchen schemeThink about the working light and the accent light as separate layers.
Under-cabinet LED lighting concept in a kitchen
Lighting conceptLight where you workA discreet under-cabinet detail brings the focus to the worktop.

Bring the idea back to your own surfaces, cabinet dimensions and preferred lighting mood.

Shop LED strip lights
Plan the detail

Considered before
the lights go on.

Use the room, the joinery and the way you live as the starting point for the installation.

Watch the floor, not just the cabinet

Smooth pale floors can reflect a bright line; darker or textured surfaces absorb and scatter more light. Test the setback and output on the real floor. Check the result from the doorway and from a chair, where the strip may be more visible.

Keep the plinth removable

Plan around dishwasher panels, ventilation grilles and service access. Fix lighting to a suitable surface without preventing plinth removal. Put joins and cable routes where they can be reached later and away from feet, cleaning tools and moving doors.

Make a deliberate line around the room

Measure each plinth section, corner and return separately. Decide whether the glow should continue around an island or stop at cabinet changes. Let the installer select protection against cleaning water and specify the complete installation rather than judging suitability from a strip rating alone.

Choose the mood

One space.
Different ways to light it.

Choose the lighting effect first, then check the strip, controls and installation together. These swatches explain the choices; they are not photographs of a product’s light output.

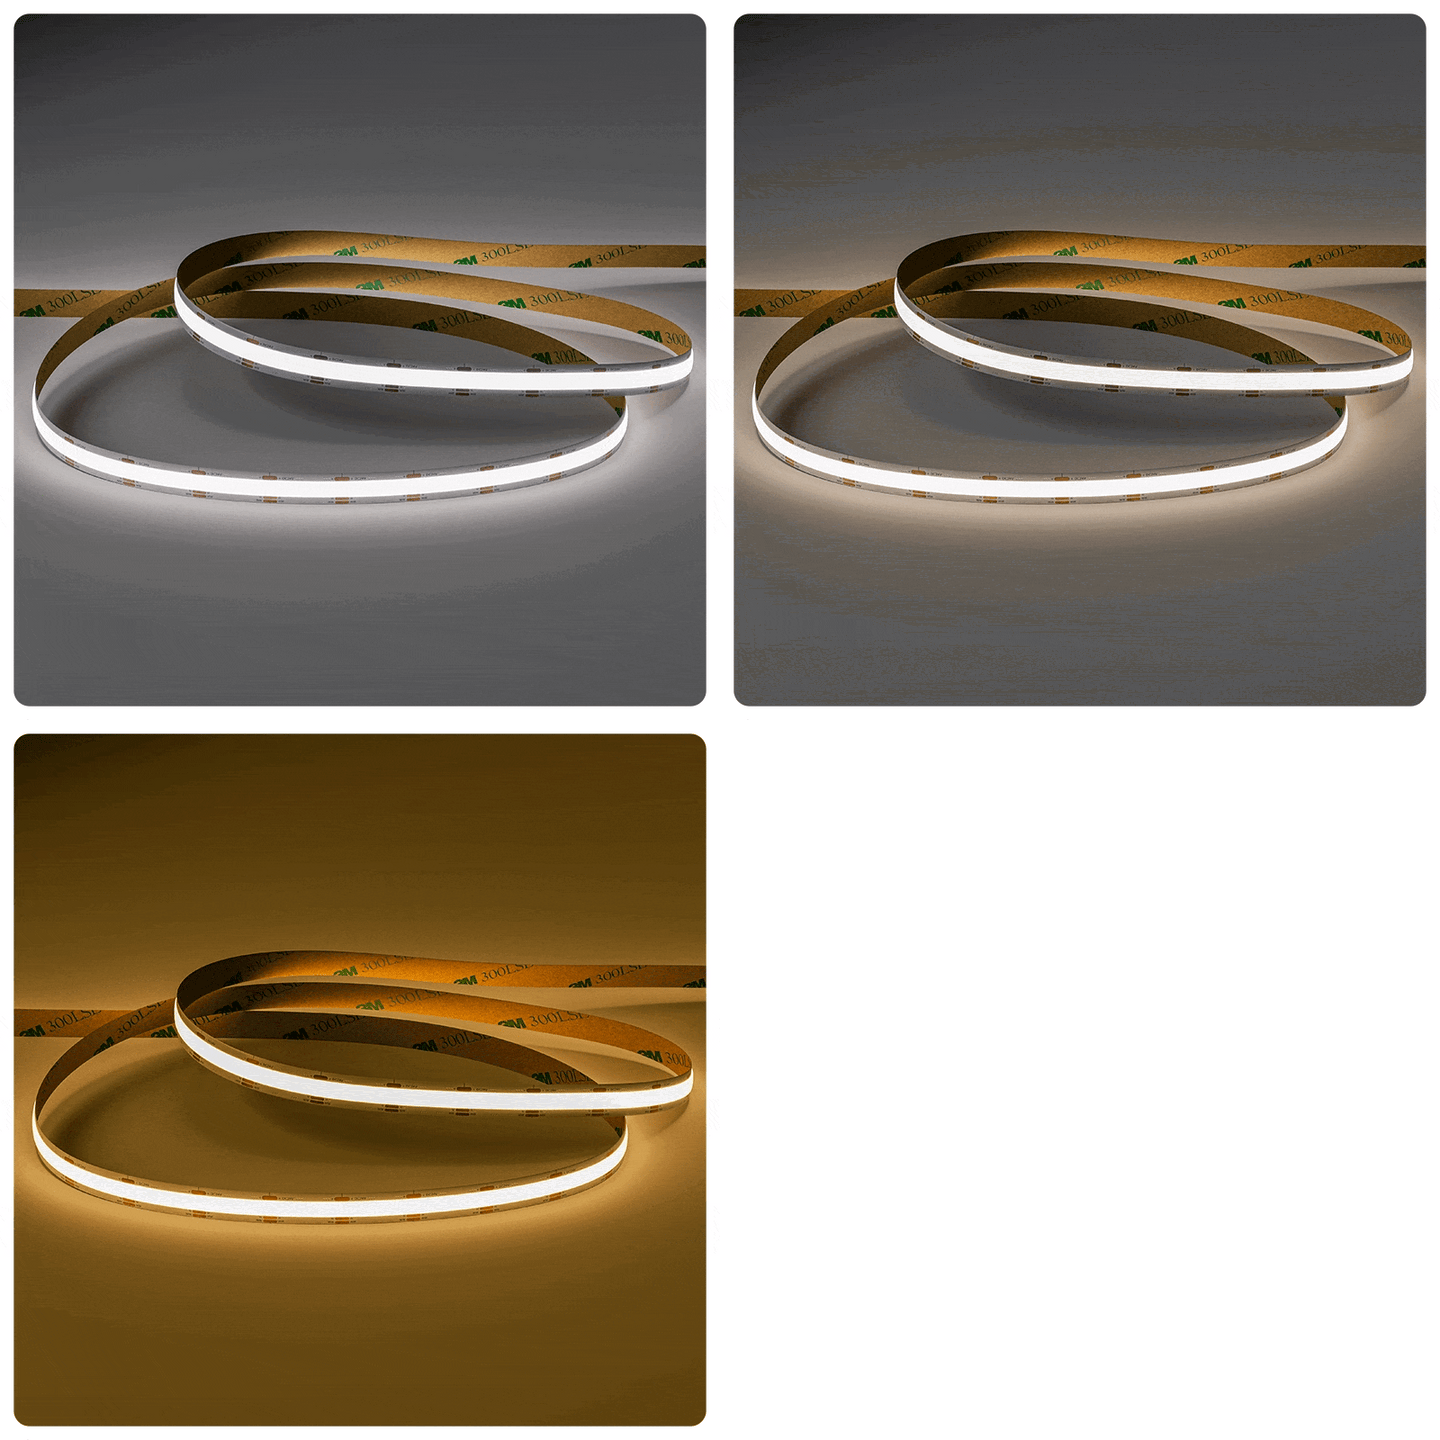
WW

Warm white

A softer white-light mood. Compare a sample with the materials and other lighting in your room.

Explore warm white
NW

Natural white

A more neutral white-light appearance. Check the selected product and test it on the surface you want to light.

Explore natural white
CW

Cool white

A cooler white-light appearance. Consider how it works with the room’s finishes and existing lights.

Explore cool white
CCT

Adjustable white

Change the white-light tone using compatible CCT controls. The available range depends on the selected strip.

Explore adjustable white
RGB

Colour

Explore colour as a decorative layer with a compatible strip and controller. Keep practical task lighting in the scheme.

Explore colour

What about RGBW? RGBW combines colour with a separate white channel. The white tone and control options depend on the product. Compare RGB and RGBW strip options and check the complete system.

Swatches are illustrative, not exact colour temperatures. Screens, surfaces and installation details change how light appears. Colour availability and suitability vary by selected product.

Explore the products

Find the parts
for your lighting detail.

These products offer starting points for suitable dry indoor locations. Compare their current specifications with your layout, exposure and chosen controls.

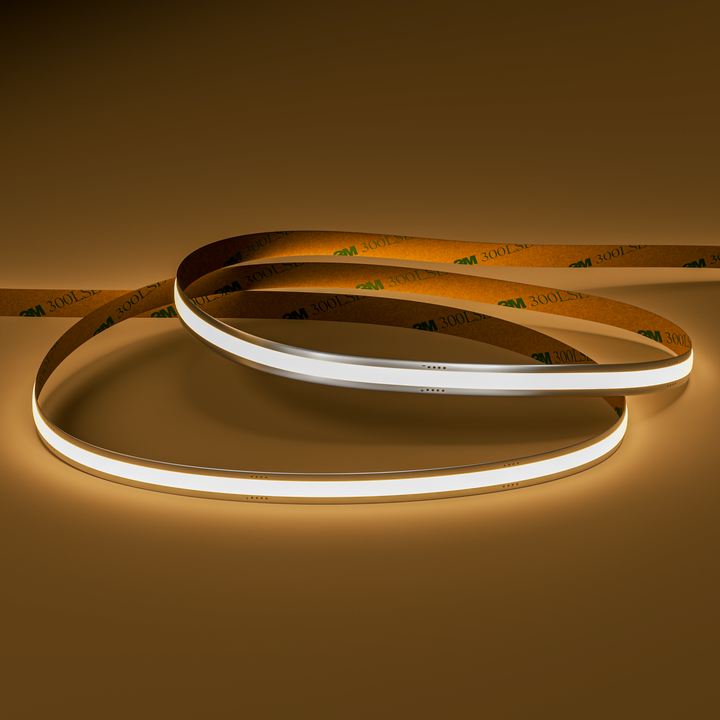
Seamless8 Warm White | 9W | 24v

Seamless8 Warm White | 9W | 24v

A warm-white accent for a relaxed evening kitchen.Use only where the complete installation is suitable for the location and cleaning exposure.

View product
Seamless Adjustable White | 24v | 14W

Seamless Adjustable White | 24v | 14W

A tunable-white option when you want the plinth to coordinate with other layers.Specify compatible CCT controls and sample the reflected light on the floor.

View product
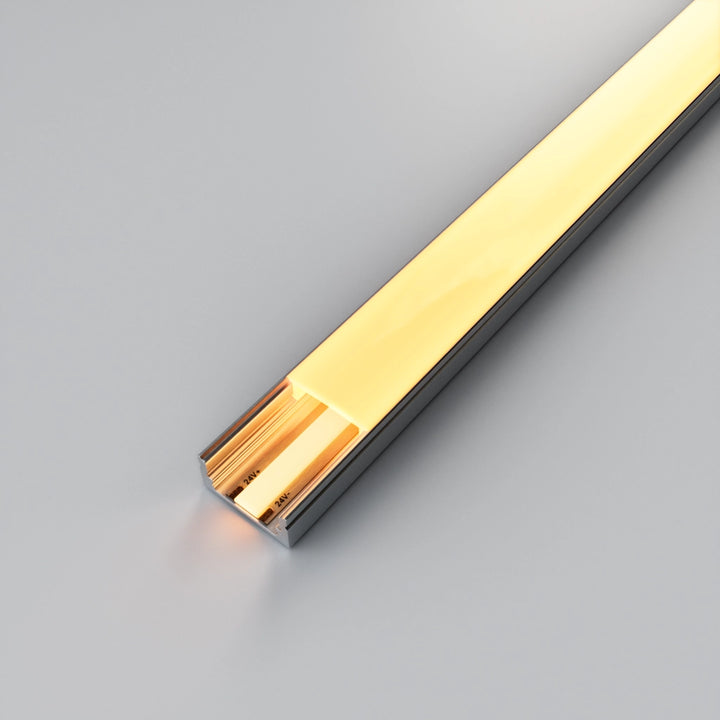
2m ALU05 Surface Mounted LED Profile, 17.1 x 8mm

2m ALU05 Surface Mounted LED Profile, 17.1 x 8mm

A low-profile surface-mount channel for a neat plinth detail.Confirm fixing clearance and access; the profile does not itself make the system water-resistant.

View product

These are individual products, not a complete lighting kit or a checked bill of materials. Confirm strip, profile, power, controls, connections and installation requirements together. Product imagery does not identify the products used in the lighting concepts.

Useful to know

Your questions,
considered.

Can I add LED lighting to an existing kitchen plinth?

Often the detail can be retrofitted, but first check the fixing surface, cable route and access to power. Removable panels, ventilation and appliance servicing must still work after installation.

How do I avoid seeing the LED strip?

Test a concealed position behind the plinth edge or a suitable profile detail. View it from seated positions as well as standing. The floor can also reflect the source, so check a sample on the actual finish.

Will plinth lighting light the worktop?

Treat it as an accent layer near floor level. Keep useful worktop and room lighting in the scheme, with independent control where practical.

What lengths do I need to measure?

Measure each illuminated plinth section and return, then add a separate note of the cable distances between them. Show corners, appliances, access panels and the intended driver location on a simple sketch.

Continue exploring

More kitchen lighting ideas

Your project, considered

Bring your kitchen plan.

Use the existing quote form to share your ideas and the details of your space.

  • A drawing with each lit run and cable route measured
  • Photos of the cabinet detail, surfaces and available space
  • Your preferred lighting mood, controls and power location
Request a lighting quote
Help