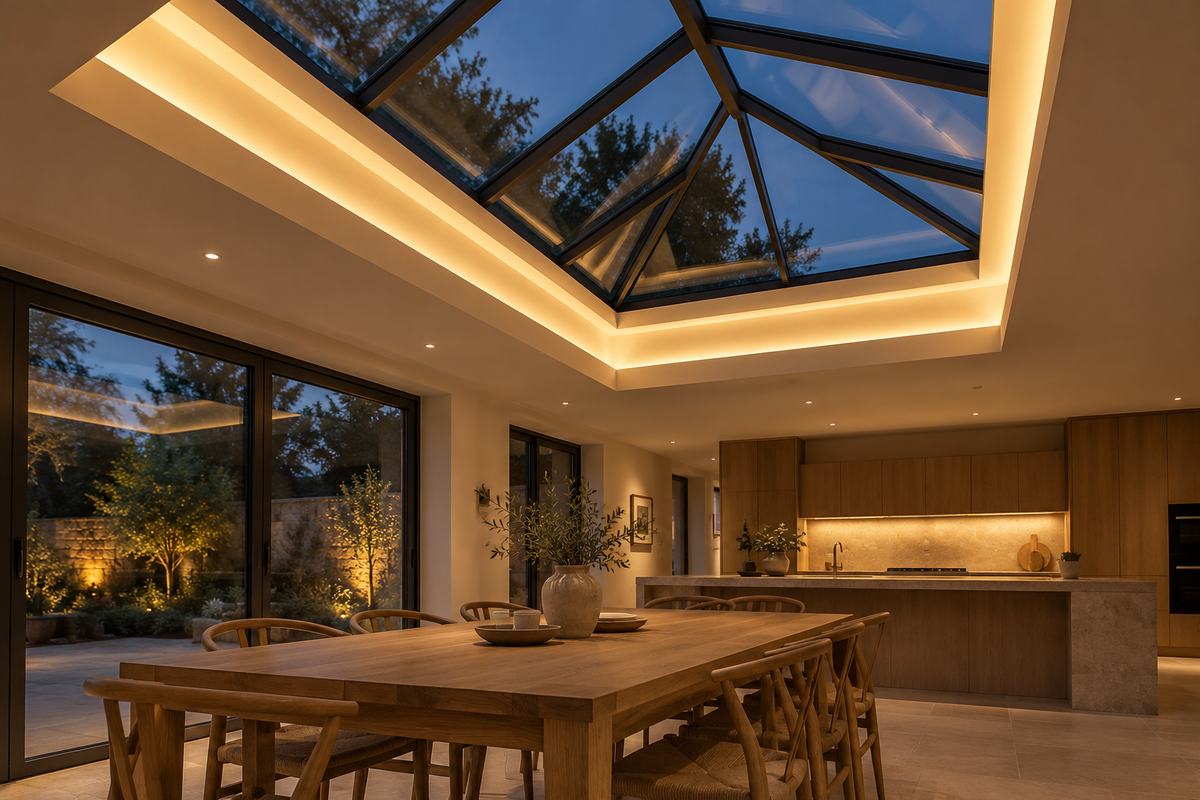
WW / Fixed white
Warm white
A soft, warm appearance for a relaxed atmosphere. Compare the look with your finishes and the other lighting in the room.

Give your roof lantern or skylight another dimension. A considered line of light can frame the opening and bring a softer mood to the room below.
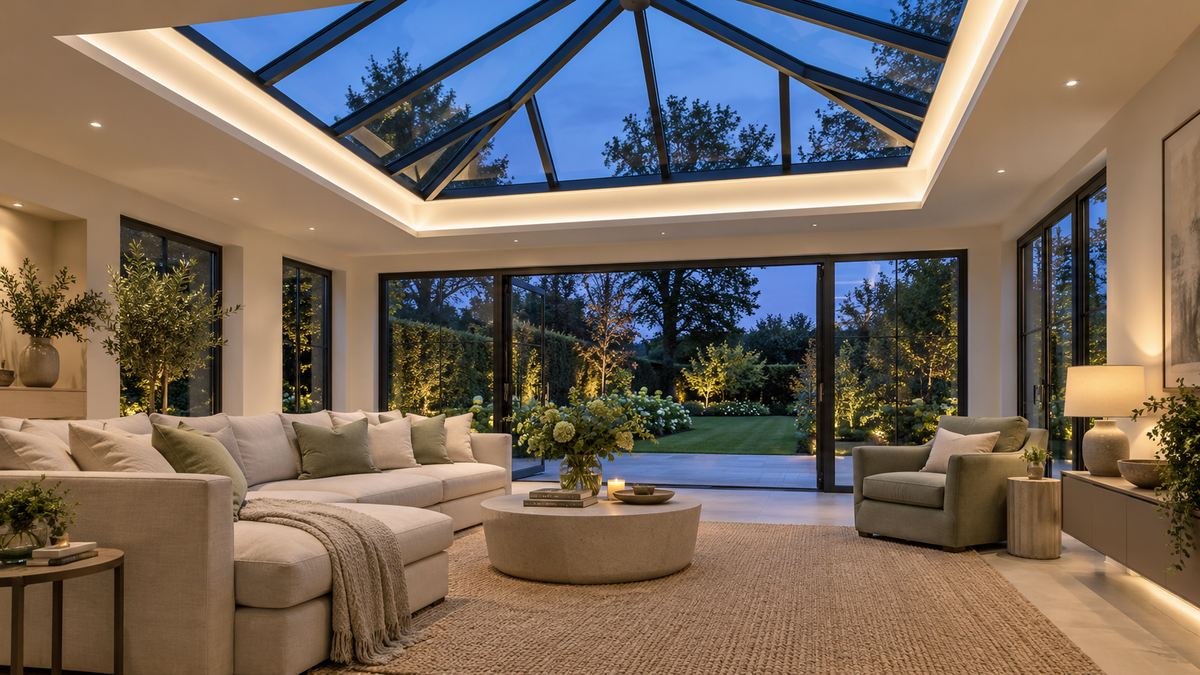
A warm perimeter is one option. Explore natural white, cool white and colour, and consider whether you want a fixed tone or adjustable white light.
A soft, warm appearance for a relaxed atmosphere. Compare the look with your finishes and the other lighting in the room.
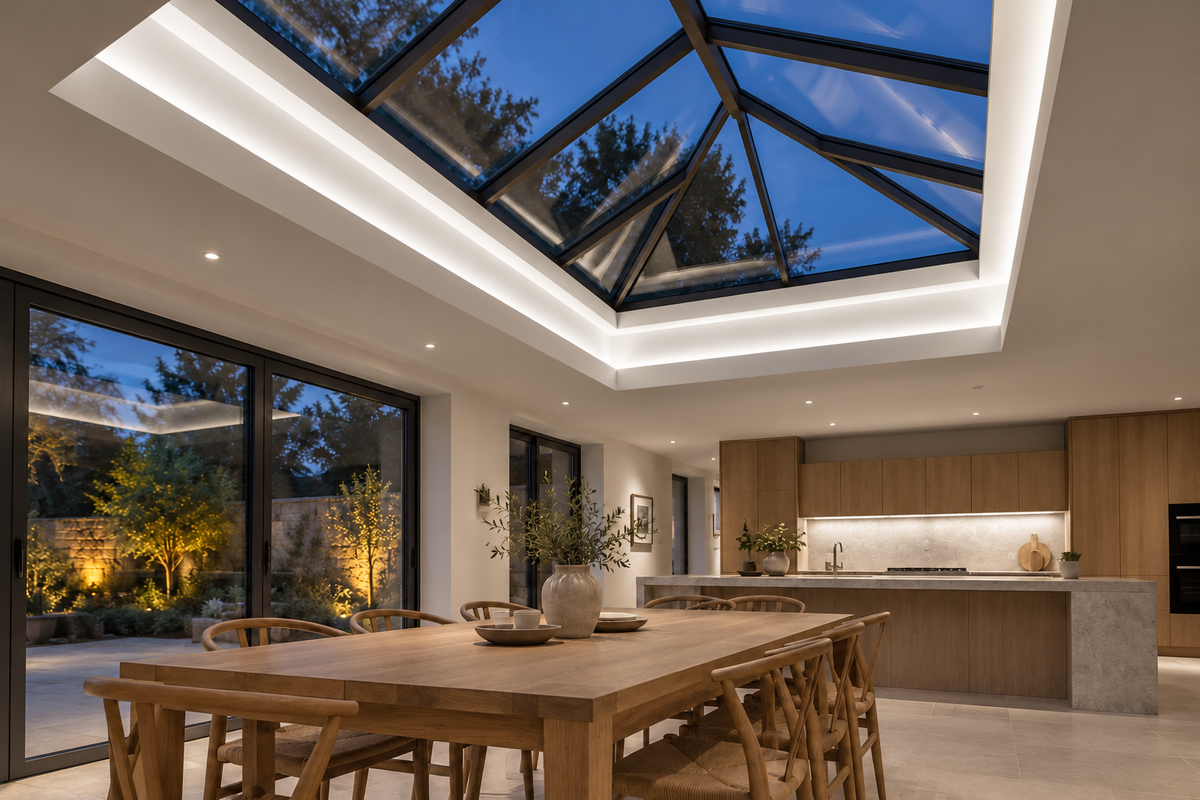
A more neutral white-light appearance. A useful visual reference if you prefer a balanced look between the warmer and cooler examples.
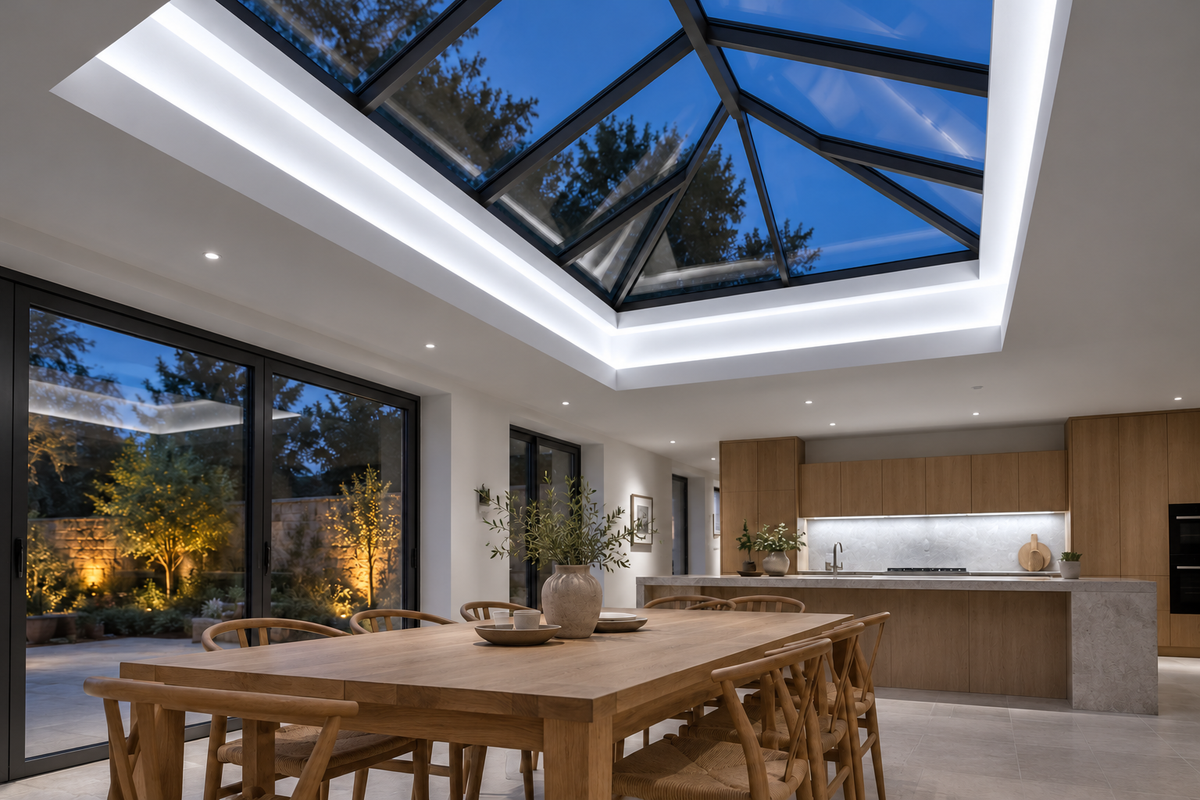
A crisp, cooler-white appearance that gives the same space a different feel. Check the chosen product’s actual tone before ordering.
CCT adjusts the white-light tone; it is not a separate fixed colour. The available range depends on the selected strip and compatible controls.
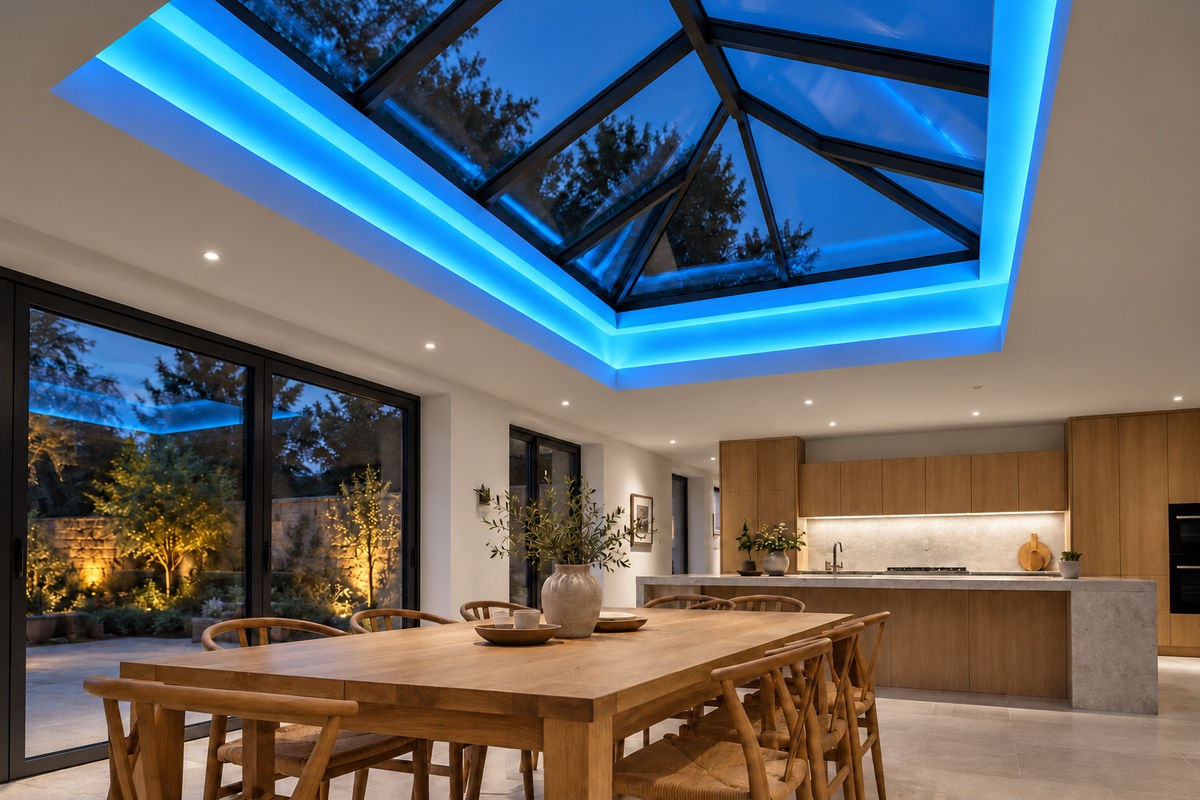
RGB mixes red, green and blue for coloured light; any white is blended from those colours. RGBW adds a dedicated white LED channel. The white tone and available effects depend on the specific product. This single-colour scene is an RGB mood example, not a product demonstration.
Generated lighting concepts illustrate different moods, not exact colour temperatures or the performance of a particular product. Availability, white-tone ranges and installation suitability vary by strip and application; confirm the complete system before ordering.
Choose the look, then choose the LED strip.
Browse the range and check the product details for your project.
Look at the reveal from the places you spend time: the kitchen island, dining table or sofa. The profile and its position shape the result.
A hidden source can direct light onto the surrounding surfaces. Record the available ledge or recess and discuss how it can conceal the strip and profile.
A deliberate, diffused line can emphasise the geometry. Consider the finished corners, sightlines and how the detail meets the ceiling.
Decide whether the effect should be a quiet white-light layer or include colour. Plan controls around how you will use the room and its other lighting.
Draw the opening as it will be finished. Label each side and its measurement, mark corners and interruptions, and show where you would like the light to start and stop.
Include photos and a cross-section with the ledge depth and available clearance. Explain whether the ceiling is finished or still at the plastering stage.
Mark the proposed cable route, accessible power and control equipment, and the preferred switching or dimming arrangement. Have the complete layout and system confirmed before ordering.
A perimeter measurement alone is not a specification. Side lengths, corners, cable routes, profile choice and the selected lighting system all affect the final parts list. This guide does not calculate runs or recommend power supplies.
The room’s build stage matters. Share it with your drawing so the proposed finish can be considered alongside the lighting.
Discuss an integrated profile detail while there is access to the ceiling construction. Coordinate its position and finishing requirements with the trades completing the reveal.
Photograph the existing reveal and available mounting surfaces. A retrofit depends on the space, cable access and appearance you want; do not assume a plaster-in detail will fit.
Show actual angles and changes in level. Plan how profiles meet, where connections can sit and how equipment can be accessed later.
LEDSpace customers · Judge.me
Selected customer feedback on our products and project support, collected by Judge.me.
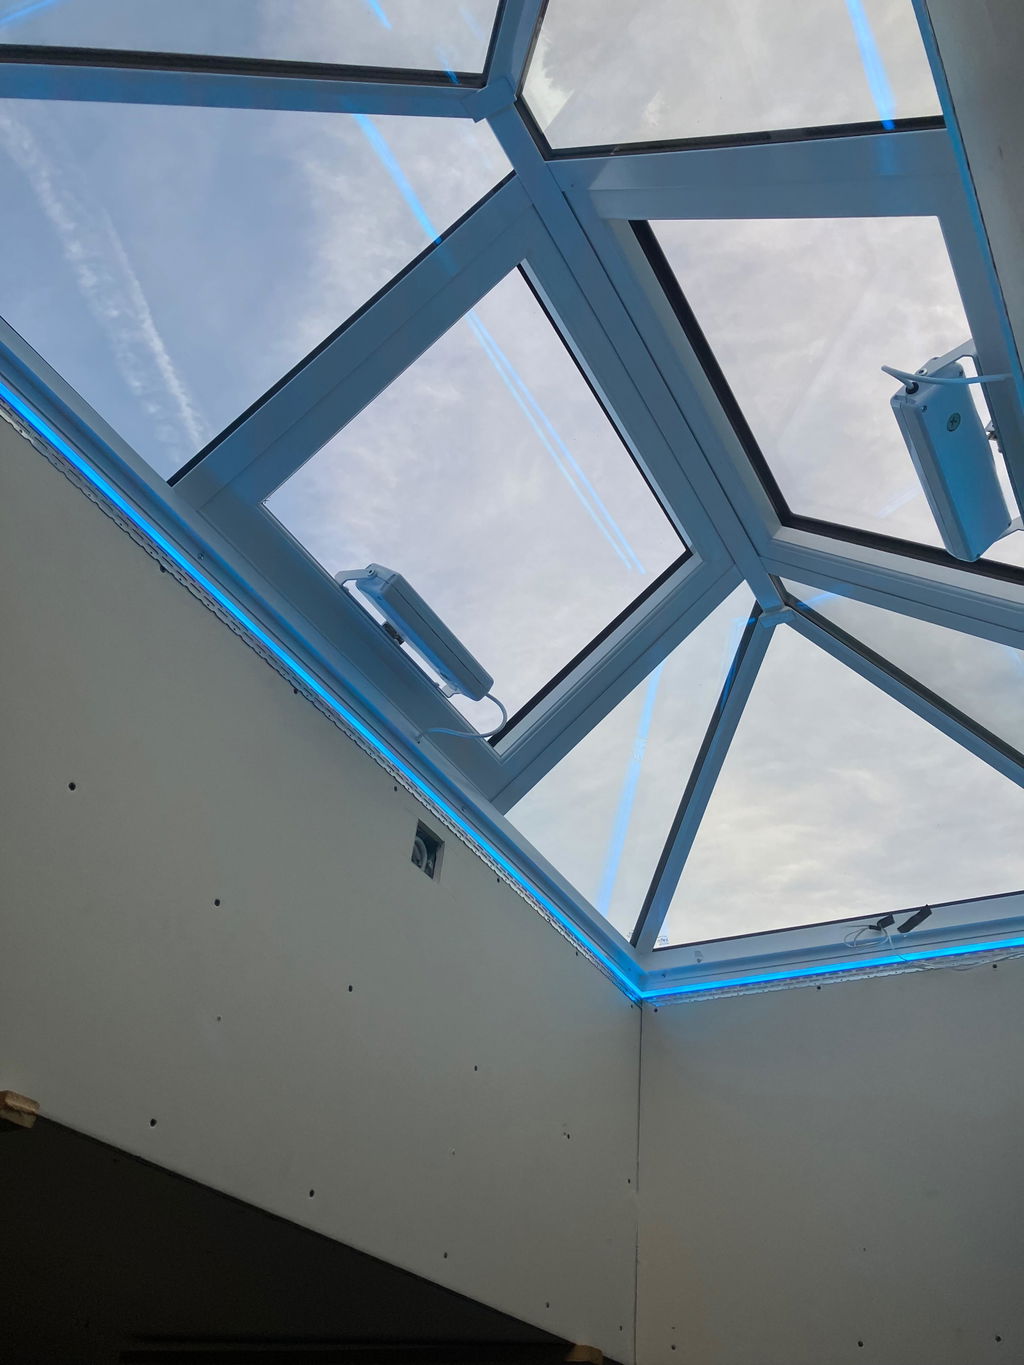
“Outstanding product just the job.”
Reviewed product: 2m ALU05 Surface Mounted LED Profile, 17.1 x 8mm
See customer reviews ↗“Fitted these lights to a roof lantern & they look amazing. The light colour can change with music making a great dance room. Had some issues which were resolved to my satisfaction by LEDSpace. Highly recommended.”
Reviewed product: Seamless Colour RGB | 24v | 15W
See customer reviews ↗Start with warm white, adjustable white or colour with warm white. These LED strip options are for dry indoor locations; compare the product details with your planned installation.
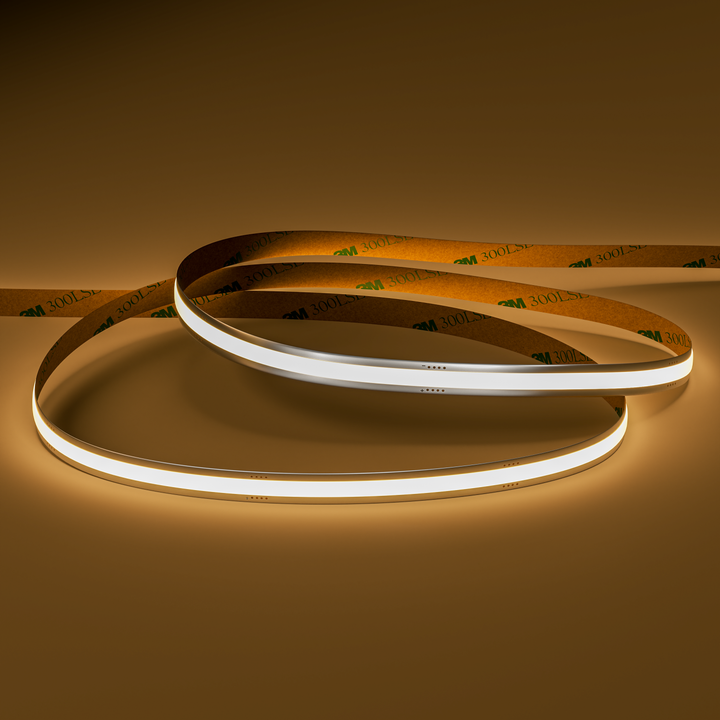 Warm white
A continuous warm-white line for a relaxed evening glow around a dry indoor reveal. Check the profile and complete system against your layout.
Shop this LED strip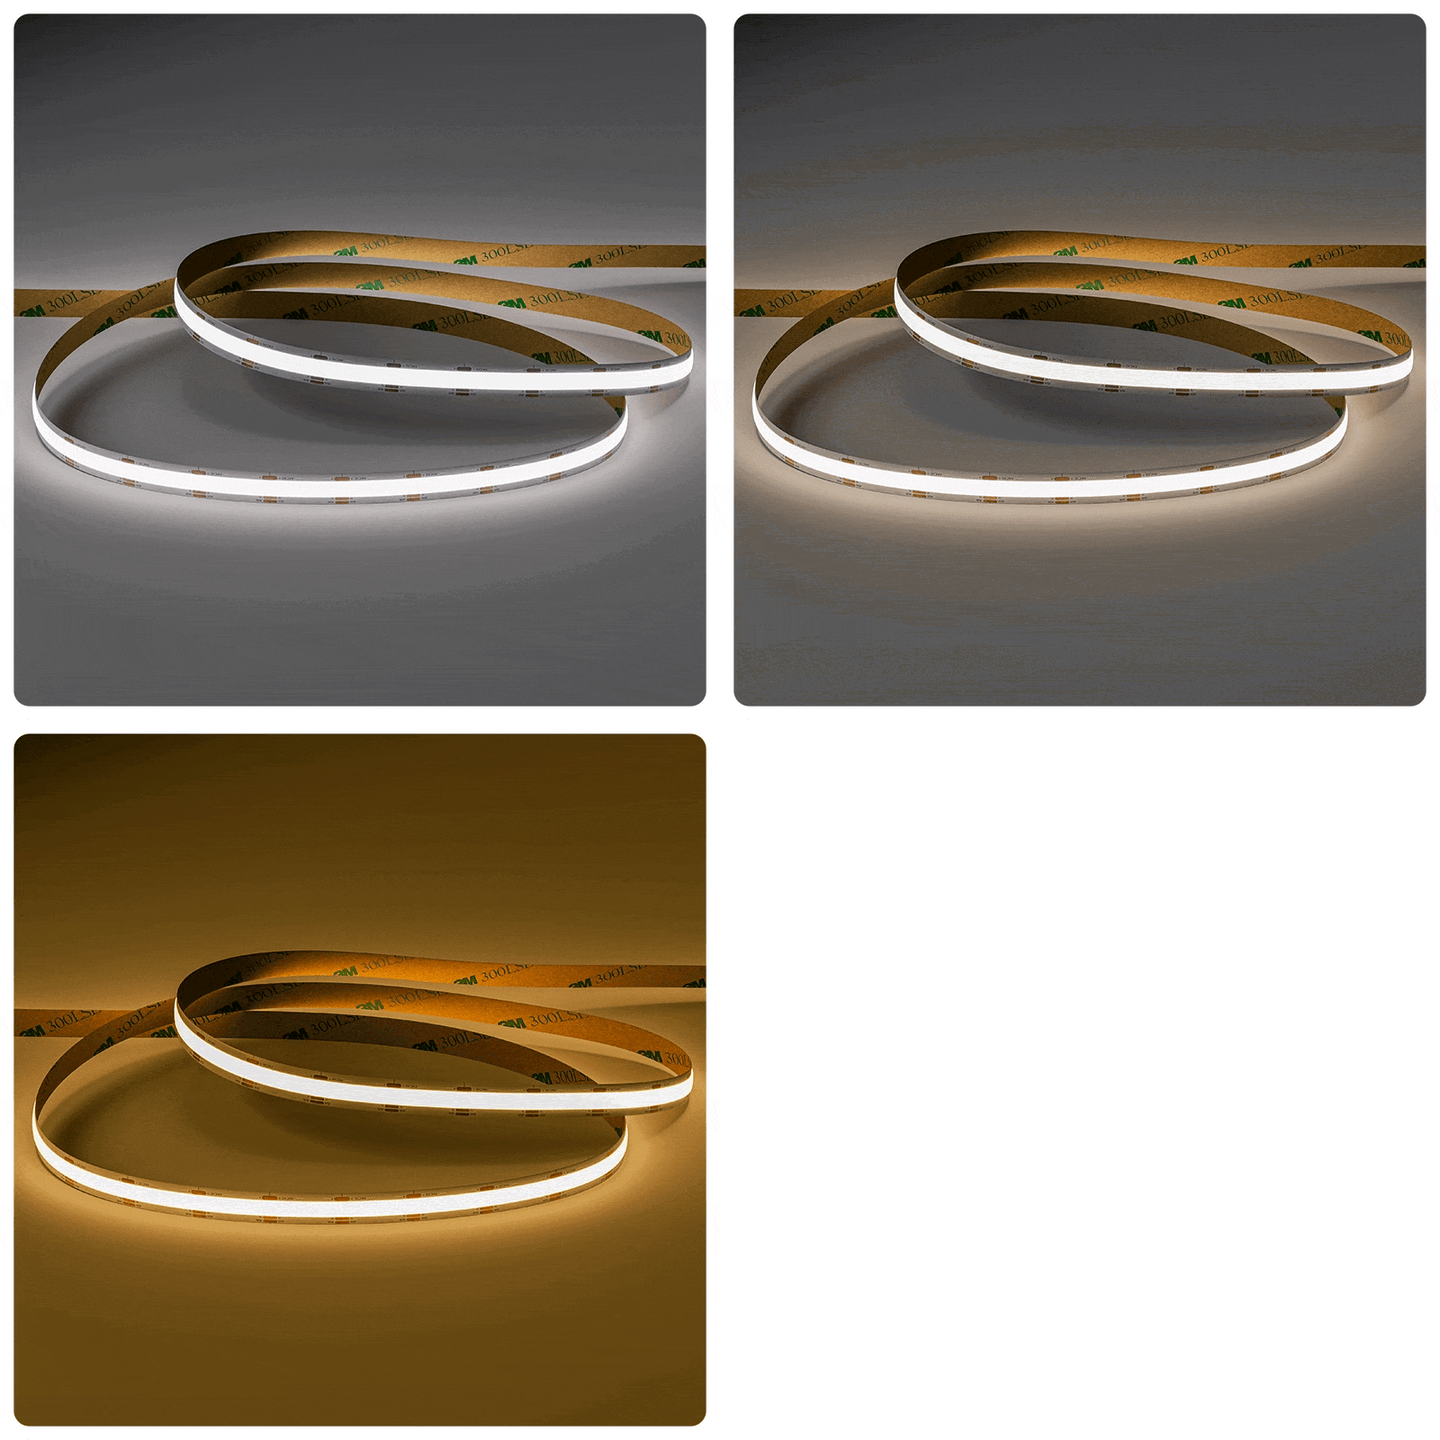 Adjustable white
Explore a changeable white-light mood, from warmer to cooler, using compatible CCT controls. For dry indoor locations.
Shop this LED strip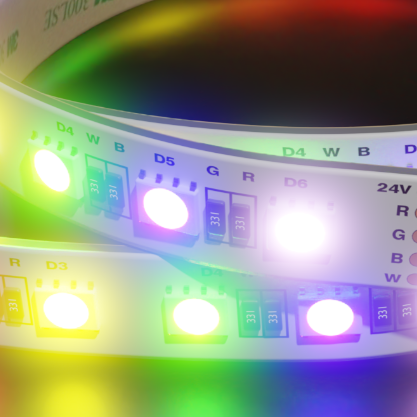 Colour + warm white
Explore colour with a dedicated warm-white channel for a dry indoor reveal. This strip requires an aluminium mounting profile, soldered connections and compatible RGBW controls.
Shop this LED stripThese are individual LED strip products, not complete lighting kits. Power supplies, controls, connections and any required profiles must be selected to suit the strip and layout. Product photographs show the strip itself and do not identify the products used in the inspiration images.
The layout is a design choice. Show which sides you want lit and the effect you want to create, together with any obstructions or changes in the reveal.
Include individual side measurements, photos and a section drawing of the finished reveal. The lighting position may differ from the glazing dimensions, so mark exactly where you measured.
A total length is only part of the brief. The selected strip, circuit layout, cable routes and controls need to be considered together. Have the full system specified before choosing a power supply.
Include your desired control behaviour in the brief. Dimming and separate control depend on the selected components and installation, so compatibility needs to be confirmed for the complete system.
Bring your ideas and the details of your space. Use our existing quote form to tell LEDSpace what you are planning.