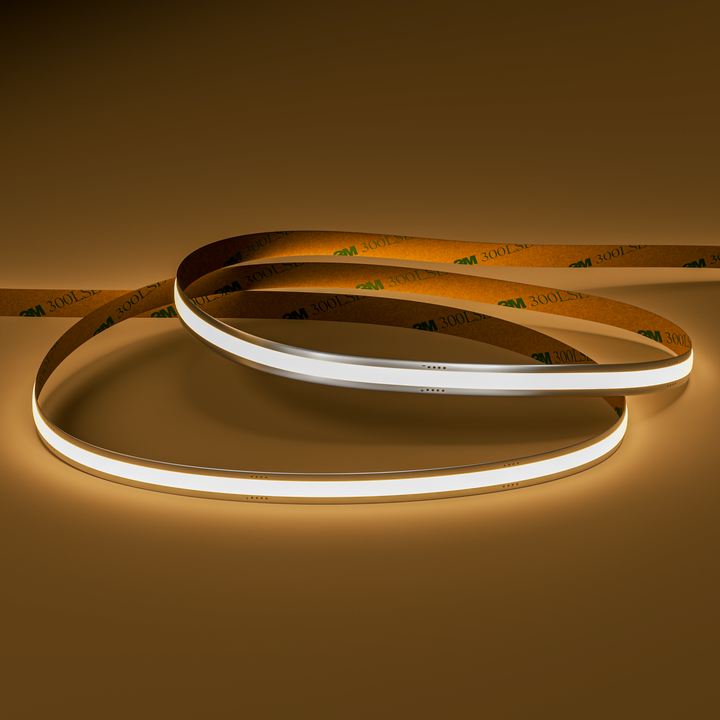
Ceiling-perimeter LED lighting depends on the relationship between the strip, the gap and the illuminated surface. Decide whether you want to see a fine diffused line or only its reflected glow. Resolve that detail before the ceiling is formed, then select the strip and profile together.
Architectural lighting inspiration
Consider the detail. See the wider room.
Explore related interior lighting details. These concepts show design possibilities, not a construction specification, verified installation or exact colour output.
Lighting conceptLighting within the architectureResolve the recess, surface and access before finishing the construction.Lighting conceptA window after darkCoordinate the lighting with the track, fabric, glazing and service access.
Bring the idea back to your own section drawings, surfaces and preferred lighting mood.
Coordinate the light position, profile, construction and complete electrical system before the finishes are fixed.
Draw the gap you want to see
Record the gap width and depth, the strip setback and the shielding edge. Check the design from the entrance, beneath the perimeter and from seating positions. A narrow reveal can expose uneven construction or make fitting and servicing difficult. Trial a short section with the intended paint finish before repeating it around the room.
Break the perimeter into planned runs
Measure each wall independently, noting corners, beams and changes in ceiling height. Do not assume the full room perimeter can run from one end on a single feed. Check the chosen product limits and plan feeds, cable links and access points so light appearance remains consistent across the intended route.
Coordinate before the ceiling closes
Send a plan and a section through the proposed gap, with ceiling construction, individual lengths and control zones. Mark the supply location and its access hatch. Agree profile fixing and finishing details with the installer before plastering. If the room has moisture exposure, include that in the brief rather than assuming any indoor strip will suit.
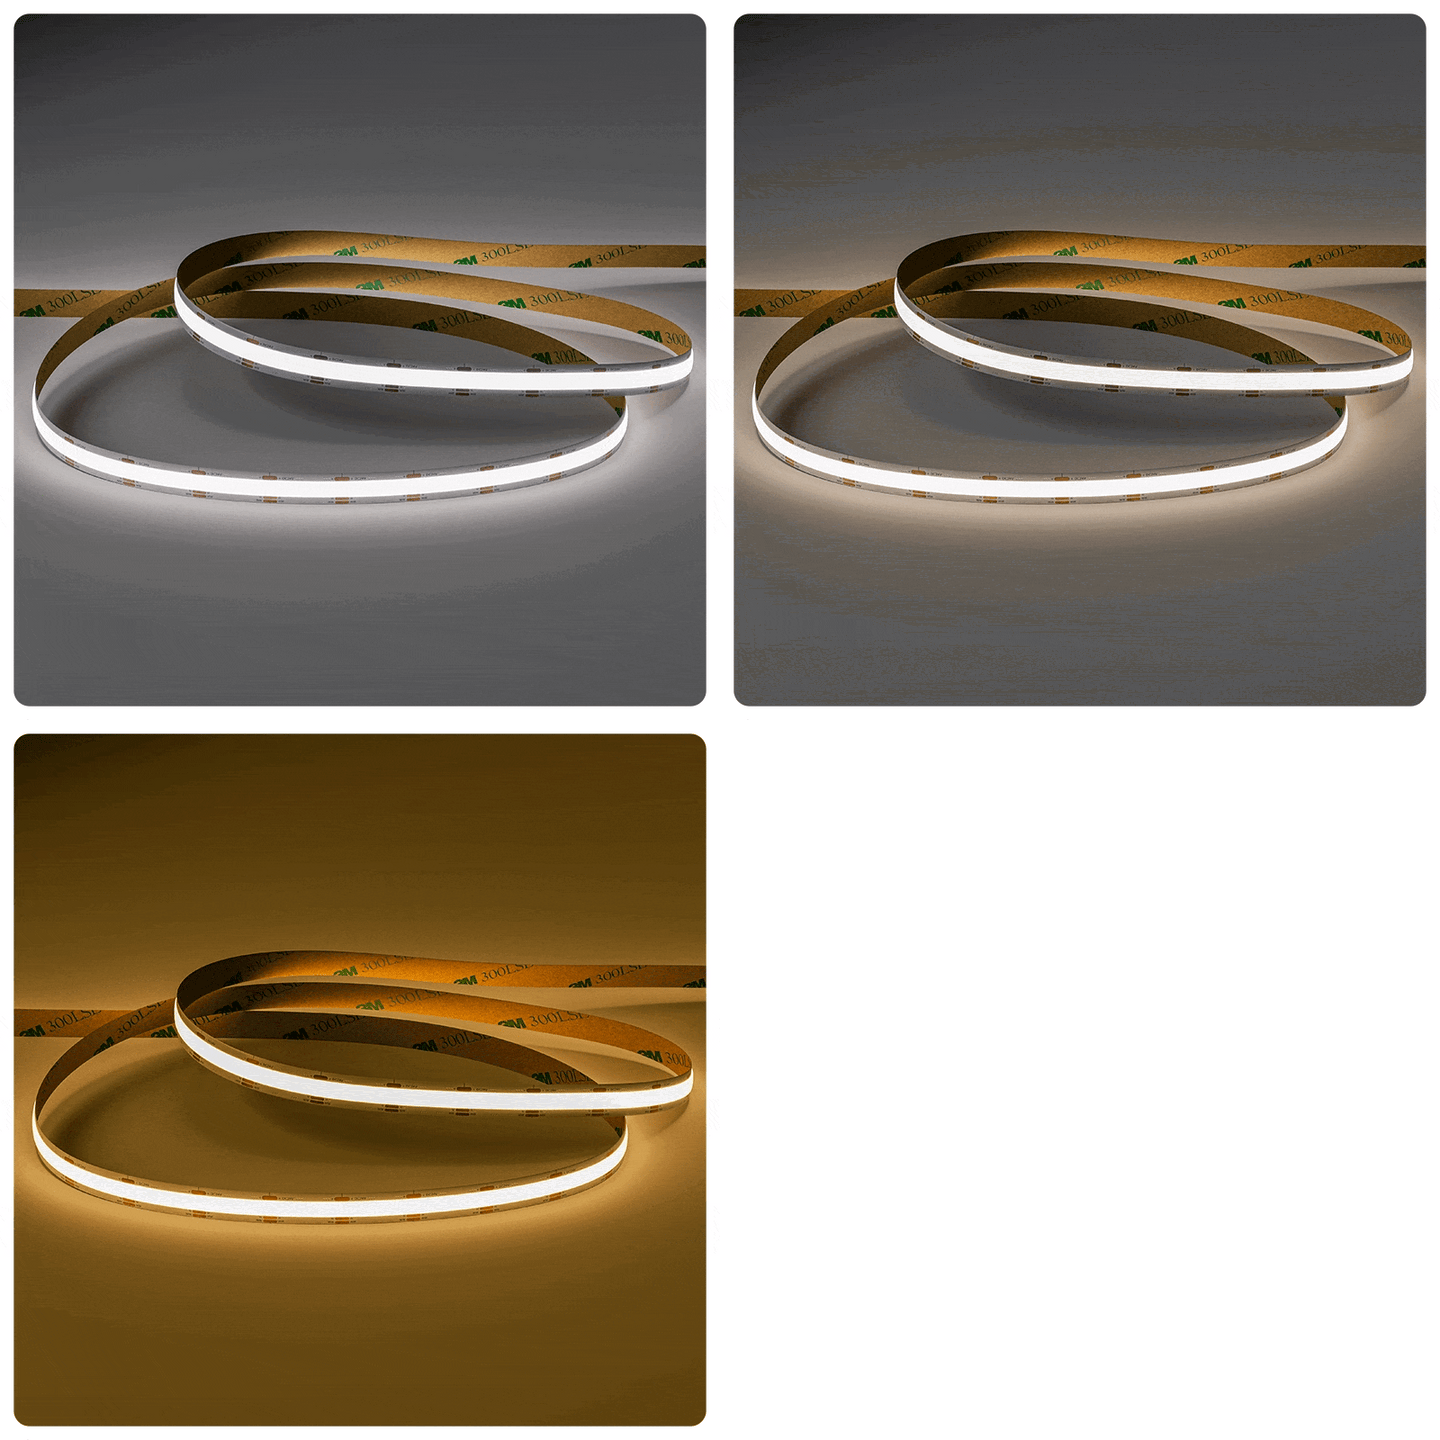
Choose the mood
One space. Different ways to light it.
Choose the lighting effect first, then check the strip, controls and installation together. These swatches explain the choices; they are not photographs of a product’s light output.
WW
Warm white
A softer white-light mood. Compare a sample with the materials and other lighting in your room.
What about RGBW? RGBW combines colour with a separate white channel. The white tone and control options depend on the product. Compare RGB and RGBW strip options and check the complete system.
Swatches are illustrative, not exact colour temperatures. Screens, surfaces and installation details change how light appears. Colour availability and suitability vary by selected product.
Explore the products
Find the parts for your lighting detail.
These products are starting points for suitable dry indoor details. Compare the strip and profile together, then confirm the mounting, controls, power and access for the complete installation.
Seamless8 Warm White | 9W | 24v
A fixed warm-white option for a concealed dry indoor ceiling perimeter.Check run limits, feeds and compatible dimming before ordering the full room length.
An adjustable-white alternative where the ceiling scene needs different white-light settings.Requires a compatible CCT controller and suitably specified 24V power arrangement.
A plaster-in profile to assess when the design calls for a flush diffused ceiling line.A flush line differs from a concealed shadow gap; verify the intended section and construction before selecting this profile.
These are individual products, not a complete lighting kit or a checked bill of materials. Confirm strip, profile, power, controls, connections and installation requirements together. Product imagery does not identify the products used in the lighting concepts.
There is no single dimension that suits every design. It must accommodate the selected profile, strip, connections and installation access while creating the intended sightline. A section drawing and sample are the right starting point.
Can one strip go all the way around the room?
Only within its specified run and feed limits. Larger perimeters usually need a planned arrangement of sections and power feeds; measure each side before choosing the equipment.
Should the LED strip point up or sideways?
That depends on whether you want to illuminate the ceiling, the wall or the gap itself. Test the proposed orientation and setback with the actual finish before permanent fitting.
Can I add perimeter lighting after decorating?
A surface-mounted or existing-cove detail may be possible. A built-in shadow gap usually needs construction work, so confirm the access, finish disruption and cable route first.